In order to ensure the proper application rates, we must validate our fertilizer spreader settings by accurately calibrating the spreader.
Optimum Spreading Speed = 3mph
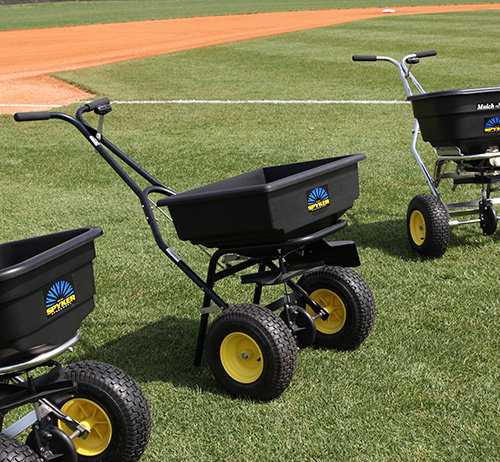
Because most broadcast spreaders are wheel-driven, the speed at which you walk significantly affects the spread of the material. Walking slower causes the spinner to rotate more slowly, resulting in a narrow, heavy spread pattern. Walking faster causes the spinner to rotate more quickly, resulting in a wider, lighter spread pattern.
Speed consistency is the key to precise application.
In order to determine your walking speed, mark off a distance of 40’ on your lawn. Pushing your spreader (with the hopper closed), time yourself walking this 40’ section. A time of 9 seconds indicates that you are walking at 3 miles per hour, which is the optimum spreading speed. Adjust your pace until you can walk the 40’ in 9 seconds with consistency.
Determine effective spread width
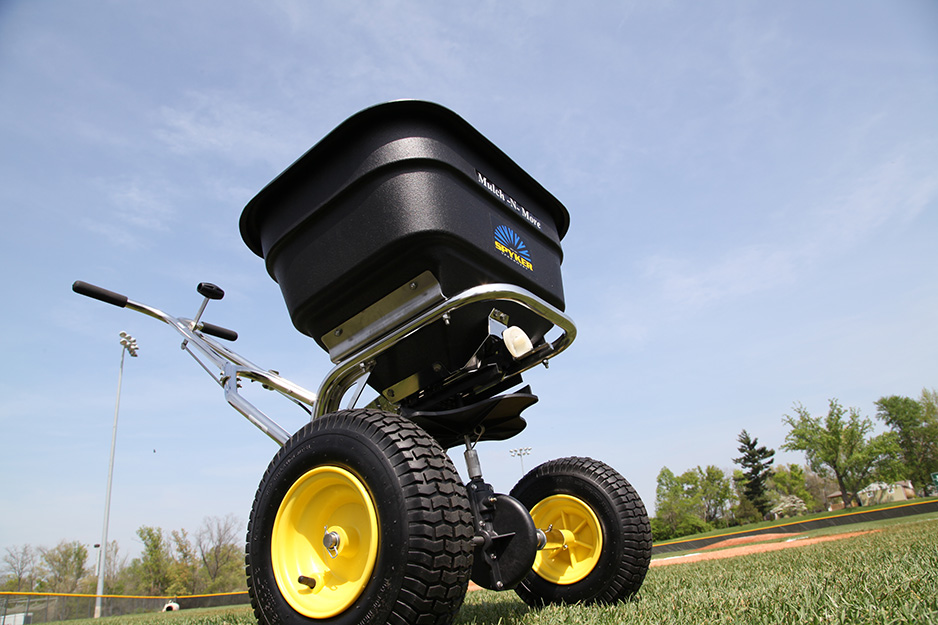
After “calibrating” your foot speed, we need to determine the effective coverage width of your spreader. On a paved surface, preferably at least 14’ in width, fill your spreader approximately halfway with the desired material. Set the dial to setting 5 (or about halfway) and walk a short distance at 3mph.
Mark the point on each side where the material begins to thin out. Measure the distance between these two points – this is your effective spread width(W). When spreading, you’ll want to overlap the sections where the spread pattern begins to thin out to ensure even coverage and to avoid a streaking or striping effect. After you get done, sweep up the material to avoid the possibility of affecting nearby water sources.
The calibration process
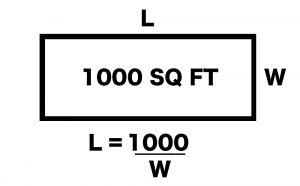
On the bag of material, you will find instructions stating the weight of material to apply per 1000 square feet. This is the number of pounds of material that we want to evenly apply over a 1000 square foot area. In order to determine 1000 square feet of spreading area, divide 1000 by your effective spread width(W). This will be the length of your calibration area(L). Find an area of pavement that is at least this distance in length(L) and at least twice as wide as your effective spread width(W), and ensure that the area is clear of rocks and other debris.
Fill your hopper approximately halfway, then set your dial to setting number 3. Open the hopper and walk the length of the calibration area at 3mph. Sweep up the material and weigh it, being sure that no rocks are accidentally collected. If the weight is higher than the number listed on the bag, decrease your dial setting. If the weight is lower than the number listed on the bag, increase your dial setting. Repeat this process until your ending weight matches the amount recommended on the bag.
Your spreader is now properly calibrated! You have validated your fertilizer spreader settings and now you can spread material without all the guesswork and ensure consistently beautiful results every time.
Click here for information about Spyker’s complete line of elite professional-grade spreaders
Author:
Brad Turner


 Author: Brad Turner